


Why Make This Recipe
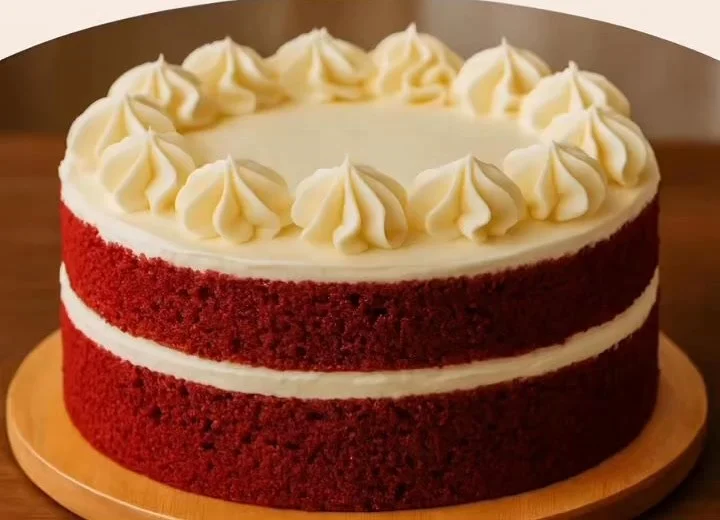
Red Velvet Cake is a delightful treat that combines the perfect blend of chocolate and vanilla flavors. Its unique red color not only makes it visually stunning but also adds to the overall experience. Whether you’re celebrating a birthday, an anniversary, or just want something sweet, this cake is sure to impress. Plus, the creamy cream cheese frosting takes it to the next level of deliciousness!
How to Make Red Velvet Cake
Ingredients:
- 2 1/2 cups all-purpose flour
- 2 cups sugar
- 1 cup buttermilk
- 1 1/2 cups vegetable oil
- 2 large eggs
- 2 tablespoons cocoa powder
- 1 teaspoon baking soda
- 1 teaspoon vanilla extract
- 1 teaspoon white vinegar
- 1 teaspoon salt
- 2 ounces red food coloring
- 16 oz cream cheese, softened
- 1 cup (2 sticks) butter, softened
- 4 cups powdered sugar
- 2 teaspoons vanilla extract
Directions:
- Preheat your oven to 350°F (175°C). Grease and flour two 9-inch round cake pans.
- In a large bowl, sift together the flour, cocoa powder, baking soda, and salt.
- In another bowl, whisk together the oil, sugar, buttermilk, eggs, vanilla, vinegar, and red food coloring until well combined.
- Gradually add the dry ingredients to the wet ingredients, mixing until just smooth. Don’t overmix.
- Divide the batter evenly between the two pans.
- Bake for 30-35 minutes, or until a toothpick inserted in the center comes out clean.
- Cool in the pans for 10 minutes, then turn out onto wire racks to cool completely.
- For the frosting, beat the cream cheese and butter together until fluffy. Gradually add the powdered sugar and vanilla, beating until smooth and creamy.
- Once the cakes are completely cool, frost the top of one layer, stack the second layer on top, and frost the top and sides of the entire cake.
How to Serve Red Velvet Cake
Serve your Red Velvet Cake with a nice cup of coffee or a glass of milk. It’s perfect for parties, special occasions, or a sweet treat after dinner. You can add some fresh berries or a scoop of ice cream on the side for extra flavor.
How to Store Red Velvet Cake
Store any leftover Red Velvet Cake in an airtight container at room temperature for up to 3 days. If you want it to last longer, you can refrigerate it for up to a week. Just make sure to let it come to room temperature before serving again, as it tastes best when slightly warmed.
Tips to Make Red Velvet Cake
- Use high-quality cocoa powder for better flavor.
- Don’t skip the vinegar; it helps activate the baking soda and gives the cake a better texture.
- Make sure your ingredients are at room temperature for the best mixing results.
- If you want a deeper red color, add a little more food coloring, but be careful not to overdo it.
Variation
You can turn this delightful cake into cupcakes by using the same batter. Bake them for about 20-25 minutes, and top with the cream cheese frosting for delicious Red Velvet Cupcakes!
FAQs
1. Can I use different frosting instead of cream cheese frosting?
Yes! You can use vanilla buttercream or chocolate frosting if you prefer.
2. Can I freeze Red Velvet Cake?
Absolutely! Wrap the cooled cake layers tightly and freeze them. When you’re ready to eat, thaw in the refrigerator overnight and frost before serving.
3. What can I substitute if I don’t have buttermilk?
You can use plain yogurt or mix 1 cup of milk with 1 tablespoon of vinegar or lemon juice. Let it sit for a few minutes to thicken before using.
Red Velvet Cake
Ingredients
Cake Ingredients
- 2 ½ cups all-purpose flour
- 2 cups sugar
- 1 cup buttermilk
- 1 ½ cups vegetable oil
- 2 large eggs
- 2 tablespoons cocoa powder
- 1 teaspoon baking soda
- 1 teaspoon vanilla extract
- 1 teaspoon white vinegar
- 1 teaspoon salt
- 2 ounces red food coloring
Frosting Ingredients
- 16 oz cream cheese, softened
- 1 cup butter, softened
- 4 cups powdered sugar
- 2 teaspoons vanilla extract

Instructions
Preparation
- Preheat your oven to 350°F (175°C). Grease and flour two 9-inch round cake pans.
- In a large bowl, sift together the flour, cocoa powder, baking soda, and salt.
- In another bowl, whisk together the oil, sugar, buttermilk, eggs, vanilla, vinegar, and red food coloring until well combined.
- Gradually add the dry ingredients to the wet ingredients, mixing until just smooth. Don't overmix.
- Divide the batter evenly between the two pans.
Baking
- Bake for 30-35 minutes, or until a toothpick inserted in the center comes out clean.
- Cool in the pans for 10 minutes, then turn out onto wire racks to cool completely.
Frosting
- For the frosting, beat the cream cheese and butter together until fluffy.
- Gradually add the powdered sugar and vanilla, beating until smooth and creamy.
Assembly
- Once the cakes are completely cool, frost the top of one layer, stack the second layer on top, and frost the top and sides of the entire cake.


